
Choosing the Right Menu Template: Sizes, Paper, and Accessibility
Choosing the right menu template for dine-in, takeaway, or catering is more than aesthetics — it affects readability, cost, and how fast you can print or update menus. This guide walks you through sizes, folding options, bleed and margins, readable typography, and accessibility best practices so you can hand a clear spec sheet to your printer and get predictable results.
Pro tip: Use EasyMenus’ PDF export live preview to check trims and folds before exporting your print-ready file.
Why it matters: The format you choose should fit how guests interact with the menu. A large, multi-panel menu can work for a sit-down dinner service but will slow down takeaway lines; compact single-sheet options are better for pickup and delivery inserts.
Common template sizes (pick based on region and printer): US Letter (8.5 × 11 in) and A4 (210 × 297 mm) are the most common full-sheet sizes. Smaller formats like Half‑Letter (5.5 × 8.5 in) or A5 (148 × 210 mm) are common for compact dine-in menus or takeout slips. For larger event or catering menus, consider Tabloid (11 × 17 in) folded into bi-fold or tri-fold layouts.
Folding options and when to use them:
• Single sheet (no fold) — Fast reads, ideal for cafés, takeout inserts, or QR-code placards at tables.
• Bi-fold — Two panels per side; good for concise dine-in menus with a clear front cover and interior sections.
• Tri-fold — Offers more categories in a compact folded footprint; useful for grab-and-go or catering menus with multiple packages.
• Z-fold or gate fold — Better for ticketed catering menus or special-event programs where you want a dramatic reveal.
Pick the service first (dine-in, takeaway, catering), then match format: compact single sheet for takeaway, folded A4/Letter for dine-in, large folded Tabloid for catering. Consider space on tables, how staff will handle menus during a rush, and shipping costs if mailing printed menus.
Why it matters: Paper choice affects perceived quality, durability, and cost. A durable coated or laminated stock lasts through repeated handling; lighter stock lowers cost but tears sooner.
Finish options to consider:
• Uncoated — Matte feel, low glare; easy to write on (useful for daily specials).
• Coated (silk/satin/gloss) — Smoother, more vibrant images, easier to wipe clean.
• Lamination (spot or full) — Adds durability and spill resistance; great for dine-in menus in high-traffic restaurants.
Operational considerations: For quick-turn specials or daily inserts, use economical uncoated stock and reprint frequently. For fixed dinner menus in a full-service restaurant, invest in a heavier coated or laminated stock to reduce replacements and improve guest experience.
Decide whether the menu is disposable or reusable → choose finish (uncoated for write-on, coated/laminated for longevity) → confirm printer stock availability and cost → ask for a printed proof before full run.
For a comprehensive overview, see our guide: Print-Ready PDF Menus & Templates (Online → PDF Builder)
Why it matters: Printers need consistent file specs to avoid cut-off text, unwanted white borders, or color shifts. A clear spec sheet prevents delays and extra costs.
Key file prep items every printer will ask for: final trim size, bleed amount, and safe margin (keep important text and logos inside the safe area). Use CMYK color mode for print, embed or outline fonts, and supply images at high resolution.
Common technical requirements (what to list on your spec sheet): use the exact finished size, include bleed on all sides, add crop marks, provide color mode as CMYK, and confirm image resolution. Deliver a single-page PDF for single-sheet menus or a spread-aware PDF for folded layouts.
Final trimmed size: _______ (e.g., 8.5 × 11 in) Bleed: _______ on all sides (ask your printer if unsure) Safe margin: _______ inside trim for important text Color mode: CMYK Resolution: 300 DPI for images Fonts: embedded or outlined File format: Print-ready PDF (PDF/X preferred) Bleed and crop marks: included at 100% scale Proof: request a physical or high-quality PDF proof Quantity, paper stock, finish (laminate/spot UV), and delivery deadline Contact person and phone/email for printer questions
Related: Optimize Your Online Menu for the Best-Looking PDF (Images, Layout, Typography)
Warning: Don’t skip a printed proof — color and fold alignment often look different on paper than on screen.
Why it matters: Guests should be able to read your menu quickly — especially during a dinner rush or when guests are deciding fast for online ordering. Good typography reduces order errors and improves guest satisfaction.
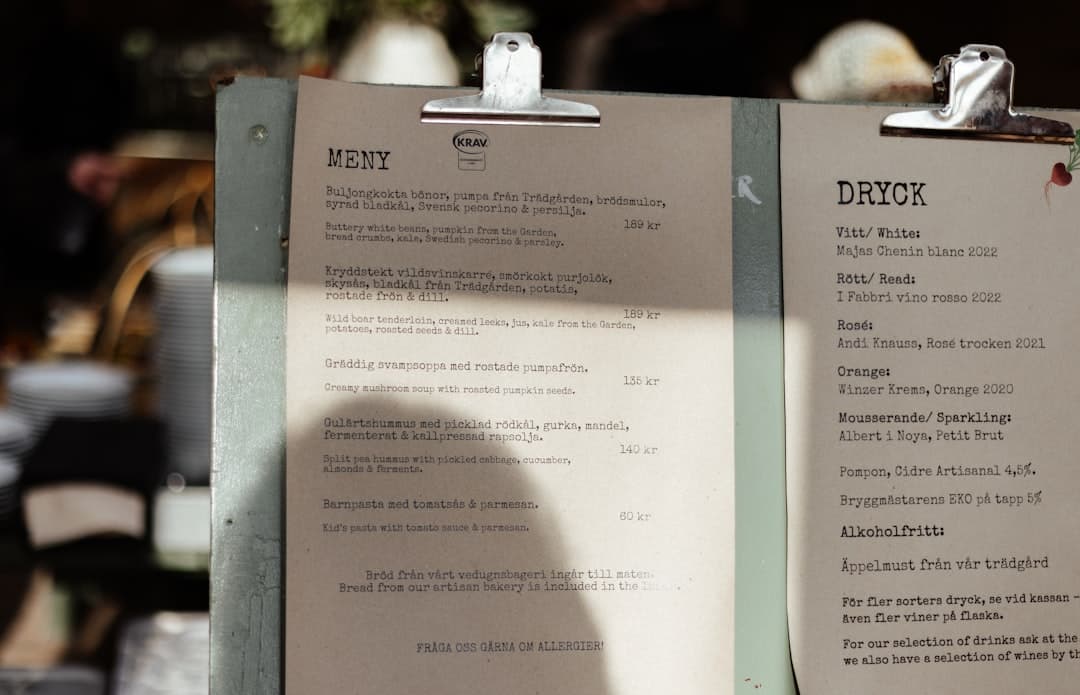
Fonts and layout tips: Choose a clear, restaurant-friendly typeface (serif or sans serif) and avoid decorative display fonts for body text. Use consistent hierarchy: headings, subheadings, item names, descriptions, and prices should have predictable sizing and spacing. Use left-aligned item names with right-aligned prices for easier scanning.
Accessibility considerations: Design menus for guests with low vision or reading difficulties. Provide a high-contrast color palette between text and background, avoid all-caps for long lines, and give enough line spacing and margin space so text doesn’t feel crowded. Also offer alternative formats — larger-print PDFs or a QR-code menu that opens a scalable online menu — so staff can quickly provide a readable version.
Use a legible typeface for body text → maintain strong contrast between text and background → keep descriptive text concise and well spaced → avoid small, condensed text for long descriptions → provide a large-print or digital alternative via QR code → ensure interactive PDFs are tagged for accessibility if possible.
Before you send files to print: always request a physical proof or a high-resolution PDF proof on the chosen stock. Verify fold alignment on a mock-up and confirm colors on coated vs uncoated stock because color appearance changes with finish.
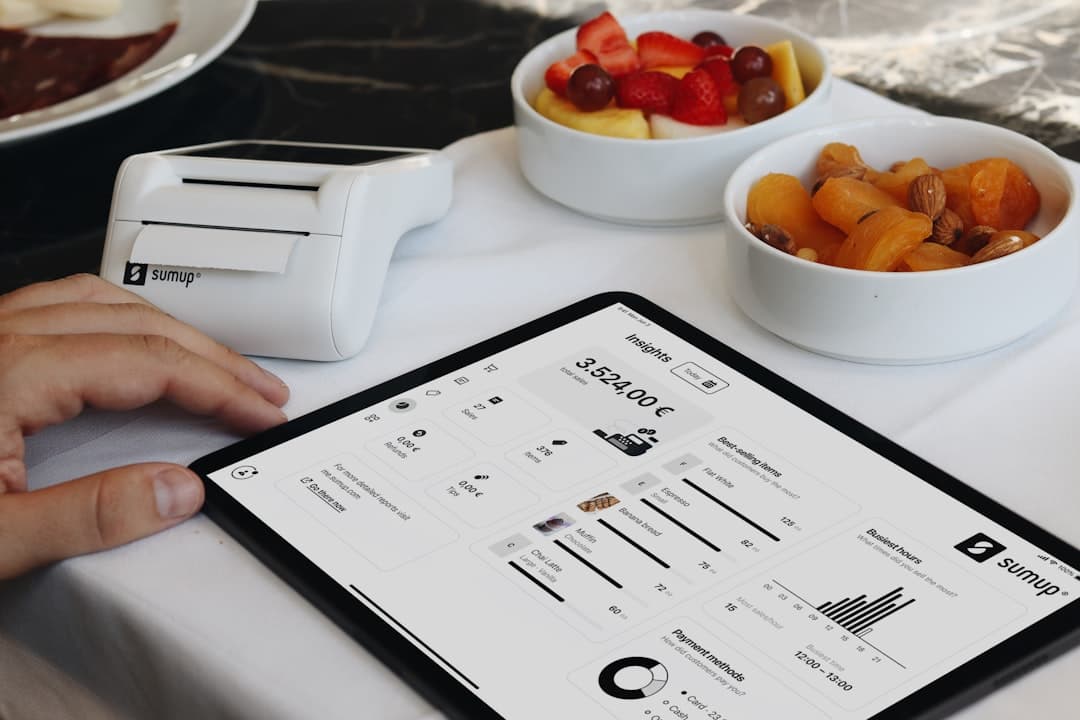
How EasyMenus helps: Use the EasyMenus PDF export wizard to preview A4/A5 and Letter layouts, toggle with or without images, apply your branding, and export print-ready PDFs with live preview. That lets you validate layout and text before handing the spec sheet to the printer.
Hand-off steps (step-by-step): 1) Finalize menu content in your EasyMenus account; 2) Use the PDF export and live preview to confirm layout; 3) Fill the printer spec sheet with the exact trim, bleed, and paper choices; 4) Send the print-ready PDF and spec sheet to your printer and request a proof; 5) Approve and schedule the run.
1. Attach print-ready PDF (checked in EasyMenus preview). 2. Include completed printer spec sheet. 3. Confirm quantity, turnaround, and shipping. 4. Request a printed proof on the selected stock. 5. Approve the proof before full print run.
Related: How to Build a Print-Ready PDF Menu from Your EasyMenus Account
Choosing the right template, paper, and accessibility choices makes printing predictable and improves the guest experience. Use the checklist above as your printer spec sheet, validate the layout with a proof, and leverage EasyMenus’ PDF export and live preview to speed up the process. When menus are legible, correctly sized, and well-printed, your staff spends less time explaining items and more time serving customers.